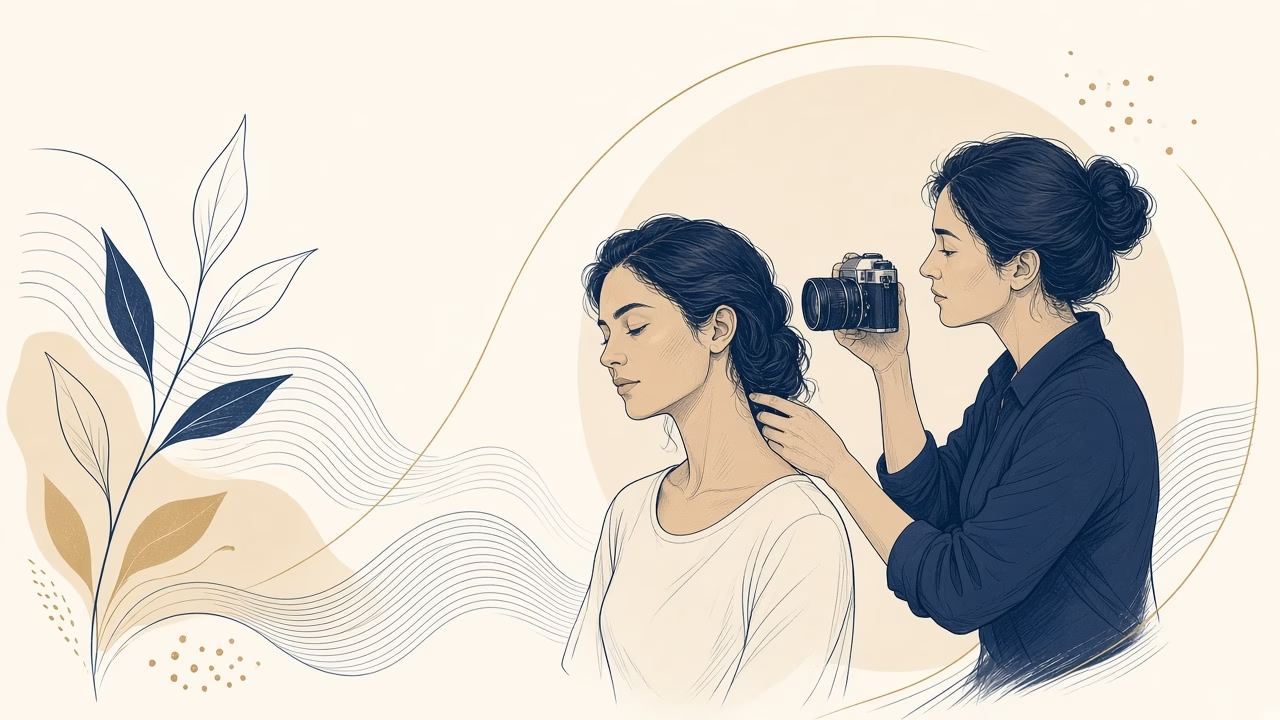
Instead of saying “let’s hide a double chin,” a photographer can use tactful cues such as “let’s define the face and neck line,” “create a cleaner jawline outline,” “find a flattering chin position,” or “give the neck more visual length.” Every face and every body deserves respectful treatment. The ideas below are optional posing and lighting tools, not corrections for a defect.
The key movement: forward, then minimally down
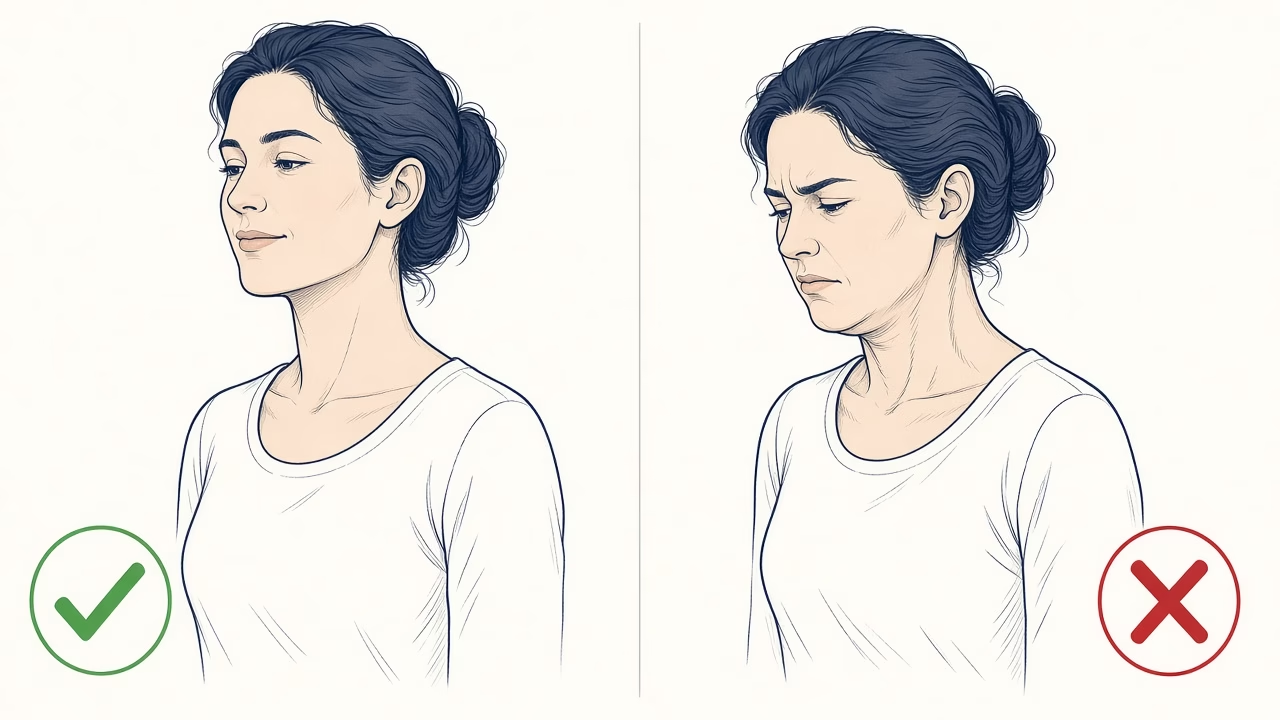
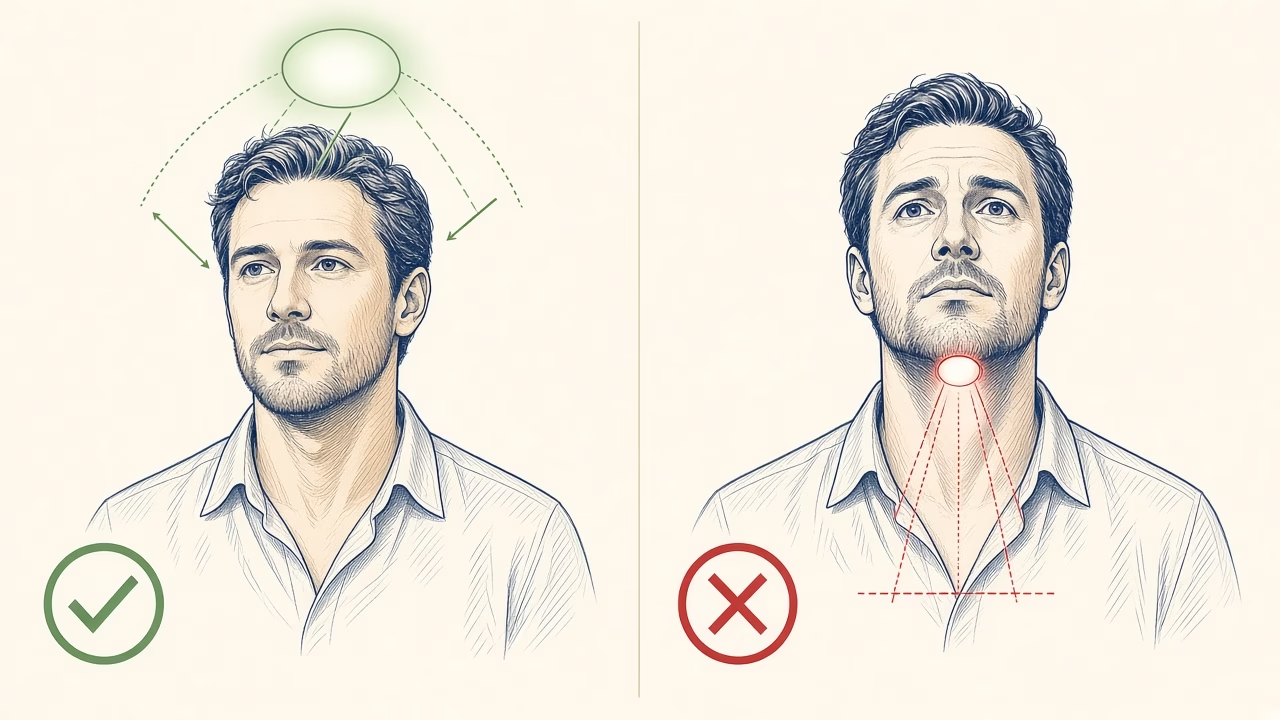
Ask the subject to move the forehead-and-nose plane subtly toward the lens, almost as if leaning in to hear something. Then bring the chin down only a fraction. This small motion gently extends the area beneath the jaw and gives its outline more separation without looking forced.
Do not ask the subject to retract the head or crush the chin toward the chest. Both actions shorten the neck, create compression and can make the expression look guarded. Begin with a comfortably tall spine, shoulders down and slightly back, a long neck and a relaxed jaw.
Concise photographer cue
“Grow gently through the crown and let your shoulders settle. Bring forehead and nose one centimetre toward me; now lower the chin just a touch. Perfect—breathe out and soften your eyes.”
Turning the body 30–45° away from camera and returning the face toward the lens often adds depth while keeping the neck clear of the shoulders. Make sure the head does not rotate too far and the near shoulder does not rise.
Camera height, working distance and lens choice
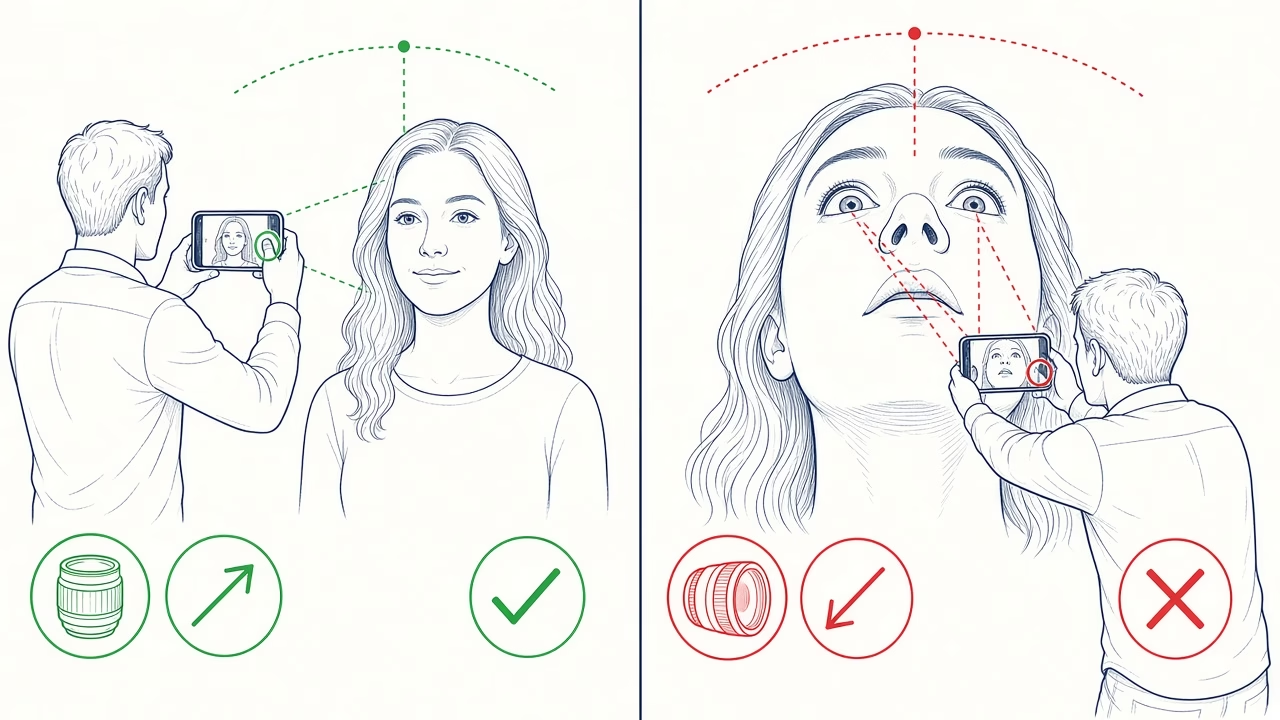
Place the camera slightly above eye line so the gaze lifts naturally and the underside of the chin does not dominate. Avoid an extreme overhead angle: it distorts proportion, diminishes the body and can make the technique obvious.
Working distance matters as much as camera height. A lens held very close makes nearer features disproportionately large. On full frame, roughly 70–135mm gives natural perspective for head-and-shoulders portraits, with about 85mm a common, flexible choice.
On a phone, prefer a true 2× optical or portrait lens when there is enough light for a clean file. If 2× is only a digital crop, or the scene is dim, use the main 1× camera and step back. Avoid 0.5× close to the face because it exaggerates distance and stretches the frame edges.
Soft light that shapes without hardening
Use a large, soft source approximately 30–45° to one side and slightly above eye level. A diffused window, softbox or bounced light can create a gentle shadow beneath the jaw while keeping life in the eyes. A subtle reflector or low-power fill on the opposite side controls contrast without flattening the natural form.
Avoid underlighting, which brightens the underside of the chin, and hard frontal on-camera flash, which flattens contours and emphasizes shine. Good exposure, skin tone and catchlights matter more than a dramatic shadow.
Seated portraits, styling and physical comfort
For a seated pose, bring the subject toward the front of the chair, keep both feet supported and lengthen upward from the pelvis. A tiny hinge from the hips toward camera is usually better than rounding the shoulders. Offer frequent resets so the pose does not become tiring.
Hair, jackets, collars and necklines may support the composition, but they should never be presented as compulsory camouflage. Hair behind one shoulder can reveal the neck; an open or V-shaped neckline can guide the eye vertically. These are optional choices of styling and personal taste. Ask before touching clothing or hair and respect the answer.
Expression, breathing and communication
Tension in the mouth and jaw can undo an otherwise precise pose. Invite a slow exhale, let the tongue and teeth relax, and make the frame near the end of the breath. If a smile is wanted, prompt a real response instead of asking someone to hold a fixed grin. Show a strong test image, check comfort and avoid negative comments about body shape.
Groups, selfies and self-portraits
For groups, keep the camera just above the group’s average eye line, encourage everyone to stand tall and avoid compressing people in the rear row. Keep people away from the stretched edges of a wide-angle frame and give the cue to the whole group, never one person.
For a selfie, hold the phone a little above the eyes and as far away as practical, or use a support and timer. Do not press a 0.5× camera close to the face. Turn the torso, return the eyes to the lens, then apply the small forehead-forward and chin-down movement.
Self-portrait checklist
- Clean the lens and find soft light slightly above eye level.
- Set the phone farther away; choose true optical 2× or use 1× and step back.
- Lengthen the spine, lower the shoulders and keep the neck comfortably long.
- Turn the body 30–45°, then return the face gently toward the lens.
- Forehead subtly forward, chin minimally down, exhale and let the expression settle.
Ethical retouching and realistic expectations
In post-production, refine exposure and colour, reduce temporary blemishes if requested and soften an unusually deep shadow with restraint. Keep real skin texture. Do not reshape the jaw, neck or body without an informed, explicit request; even then, favour subtle work that does not alter anatomy or identity.
No pose, focal length or lighting setup can erase anatomy from every angle, and a photographer should never promise that it will. These methods only influence how three-dimensional form is translated into a two-dimensional photograph. They do not produce permanent physical change. The goal is an elegant, recognisable portrait in which the person feels safe, represented and fully themselves.
Frequently asked questions
How far forward should the head move?
Usually a very small motion—around one centimetre—is enough. Judge it from the lens position and stop before the neck or expression begins to look strained.
Should the chin always come down?
No. The adjustment is minimal and depends on the face, camera height and angle. If the chin approaches the chest or the eyes feel forced upward, reset higher.
What lens is best for a close portrait?
About 70–135mm on full frame usually gives comfortable head-and-shoulders perspective, and 85mm is especially practical. Sensible working distance matters more than one exact focal length.
Is a phone’s portrait mode enough?
It can be, provided there is sufficient light and clean subject separation. Inspect the artificial blur around hair, ears and the neck because depth masks can make obvious mistakes.
Why avoid 0.5× for a close selfie?
An ultrawide lens used nearby enlarges the closest features and stretches the edges. It is useful for showing the setting, but rarely for natural facial proportions at arm’s length.
How should I handle reflections in glasses?
Keep soft light around 30–45° and adjust its height or the face angle slightly until glare clears. Preserve a natural head position and make sure the eyes remain illuminated.
What if the pose looks unnatural?
Reduce every adjustment by half, invite an exhale and photograph the transitions between instructions. A fluid in-between moment often looks more elegant than a held pose.
Can a seated pose make the neck line clearer?
Yes, when the subject sits near the chair edge, grounds the feet and lengthens upward without stiffness. A deep, soft seat tends to collapse posture, so add support or change chairs.
Should this area be changed in Photoshop?
Only with transparency and consent. Start with exposure, colour and restrained shadow control; avoid reshaping that changes the person’s recognisable facial structure.
How can I direct someone without embarrassing them?
Talk about light, posture and visual lines, give comparable guidance to everyone and ask permission before adjustments. Positive, precise language builds trust and produces better expressions.
A portrait shaped with care
For thoughtful direction, light tailored to you and photographs that still feel natural, contact Foto Panorama.